Foundation Piecing Basics
While my patterns do include starter instructions for Foundation Paper Piecing, the blog allows me to provide more photos to show the process.
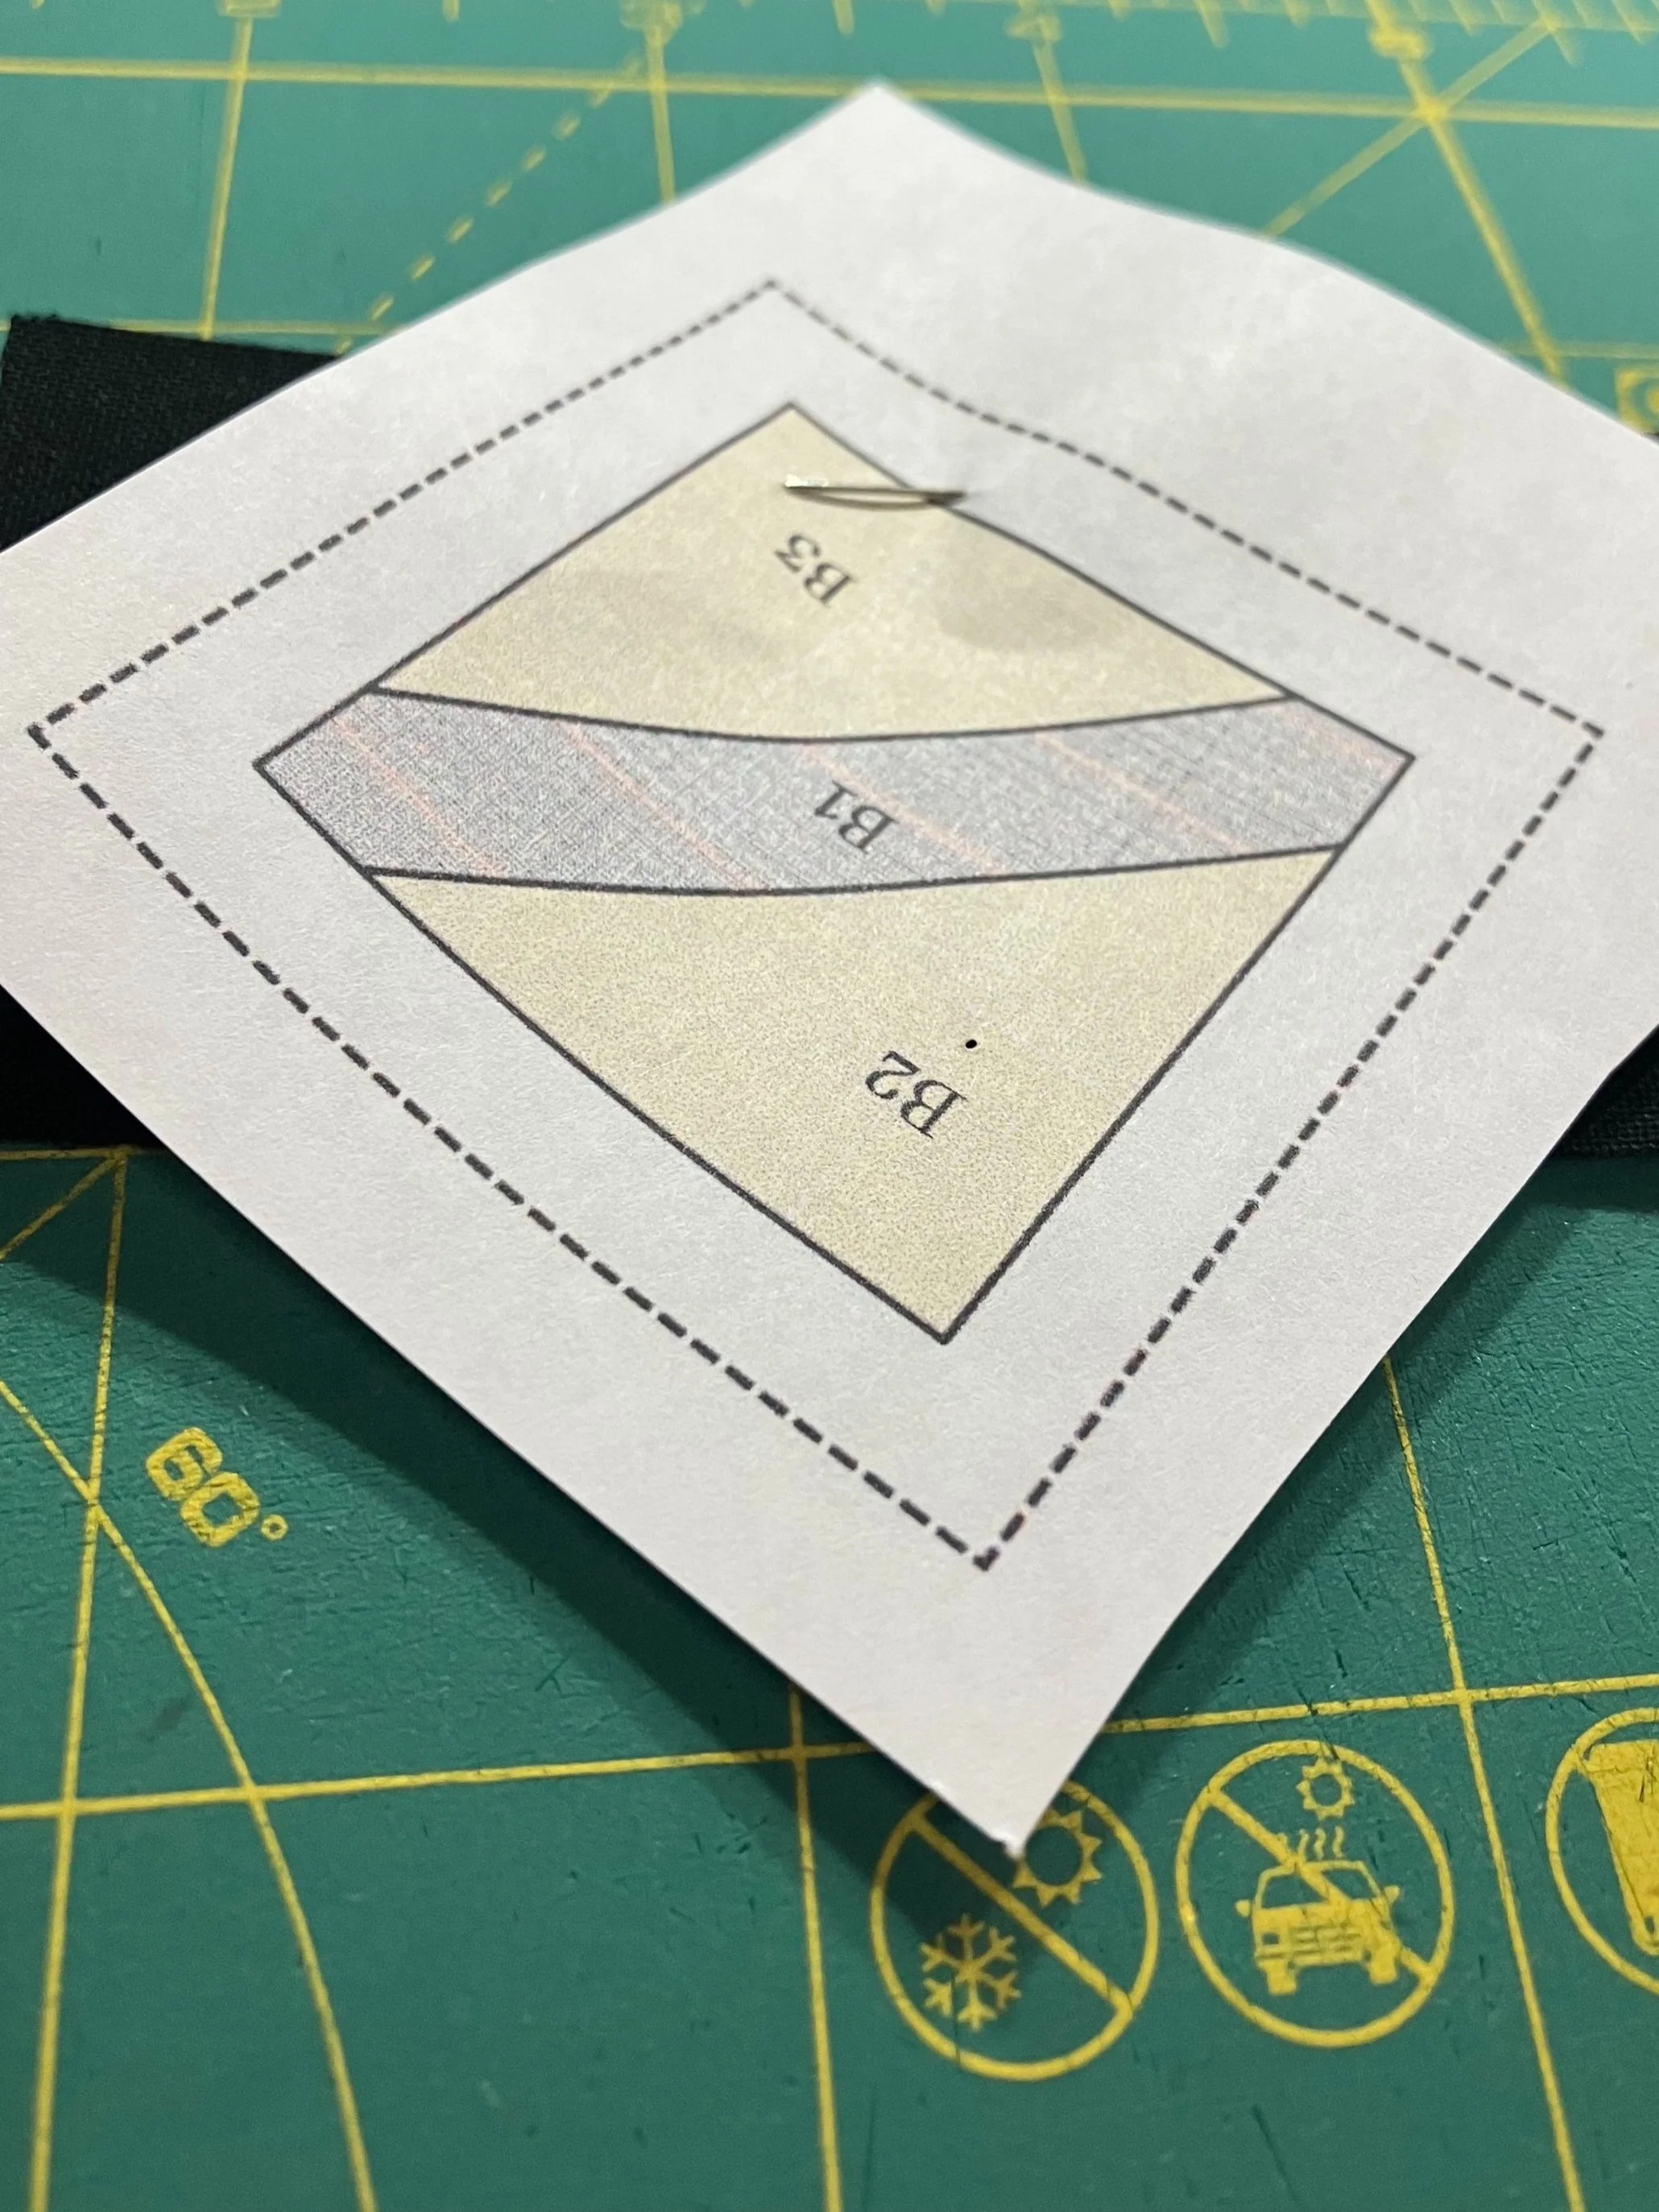
The piece used in this tutorial is the Sleepy eye from my Cabin Chick pattern. It only has three sections which makes it a great shape for those just starting out with FPP.
To help secure the seams (and also make the paper easier to tear out) set your stitch length shorter to 1.5mm.
The numbers on your pattern correspond to the order you’ll piece it.
Starting with your paper template, place your eye fabric over section one in the center with the wrong side of the fabric against the wrong side of the paper. Make sure the fabric is extending past all of the lines by at least 1/4”. (Hold the paper and fabric up to a light source to help see through it to make sure the fabric is extending past the lines.) Place a pin in the fabric to hold it in place (make sure the pin is away from the line between piece one and two which is the first sewing line).
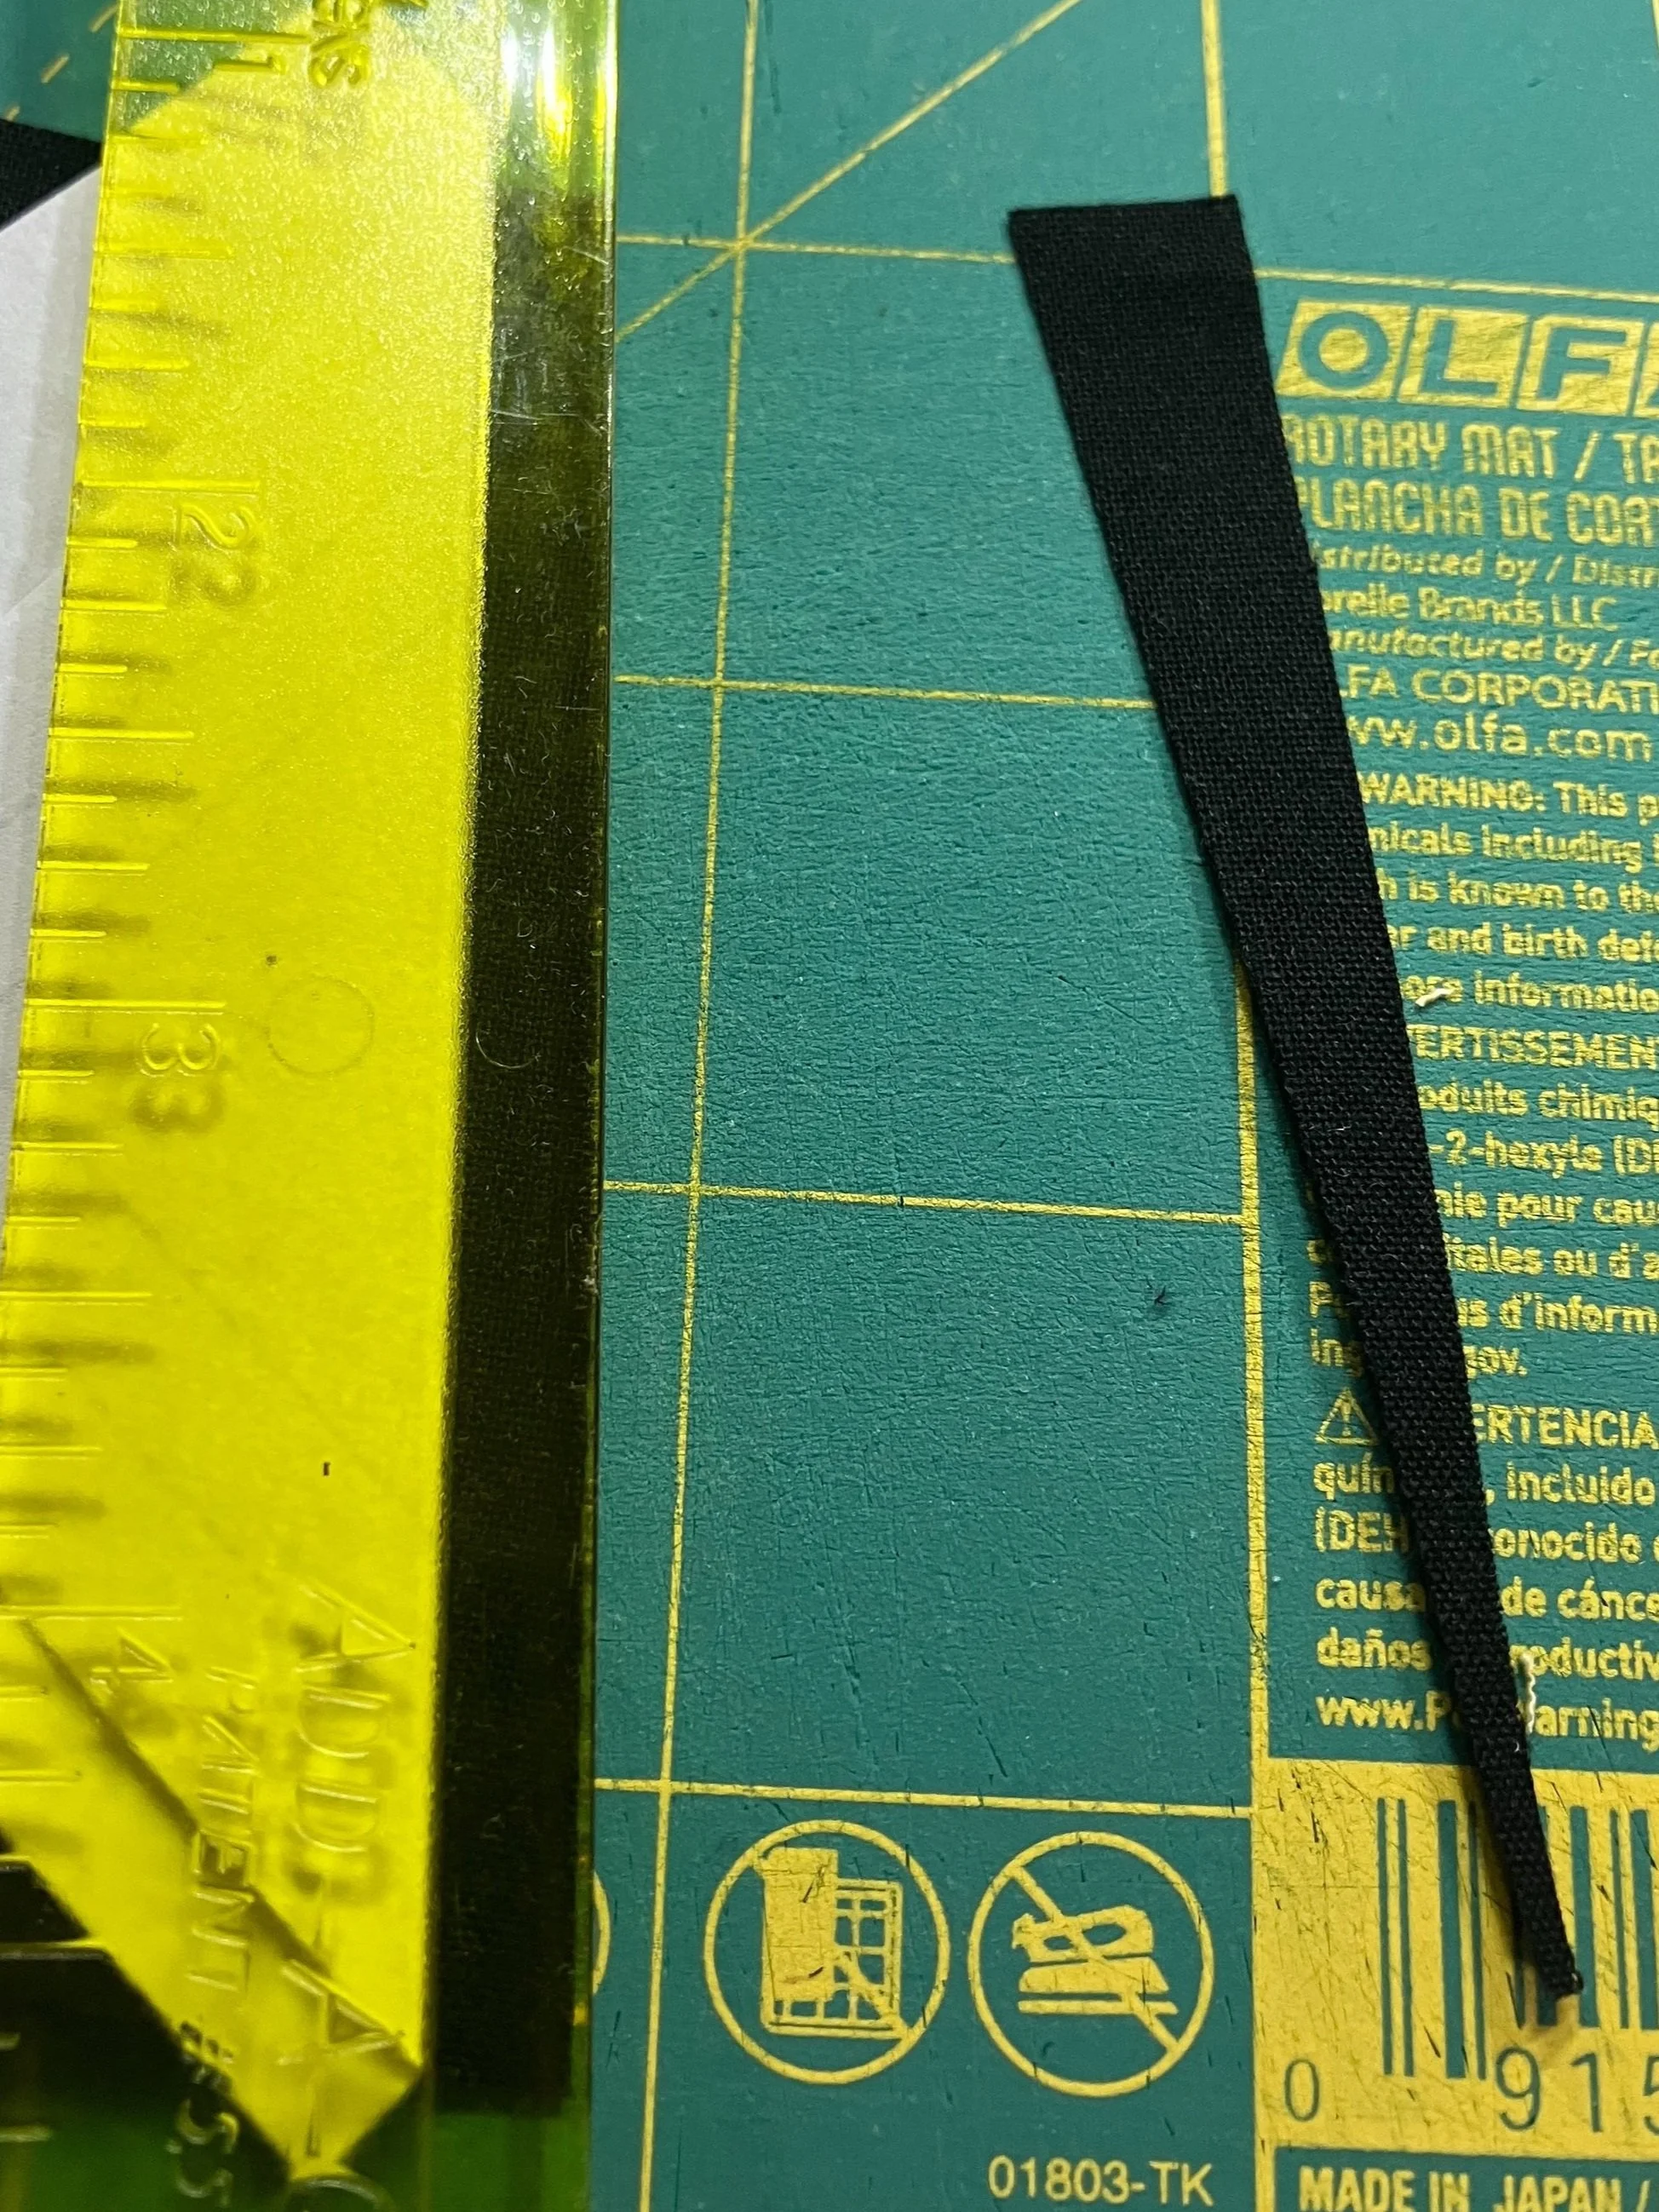
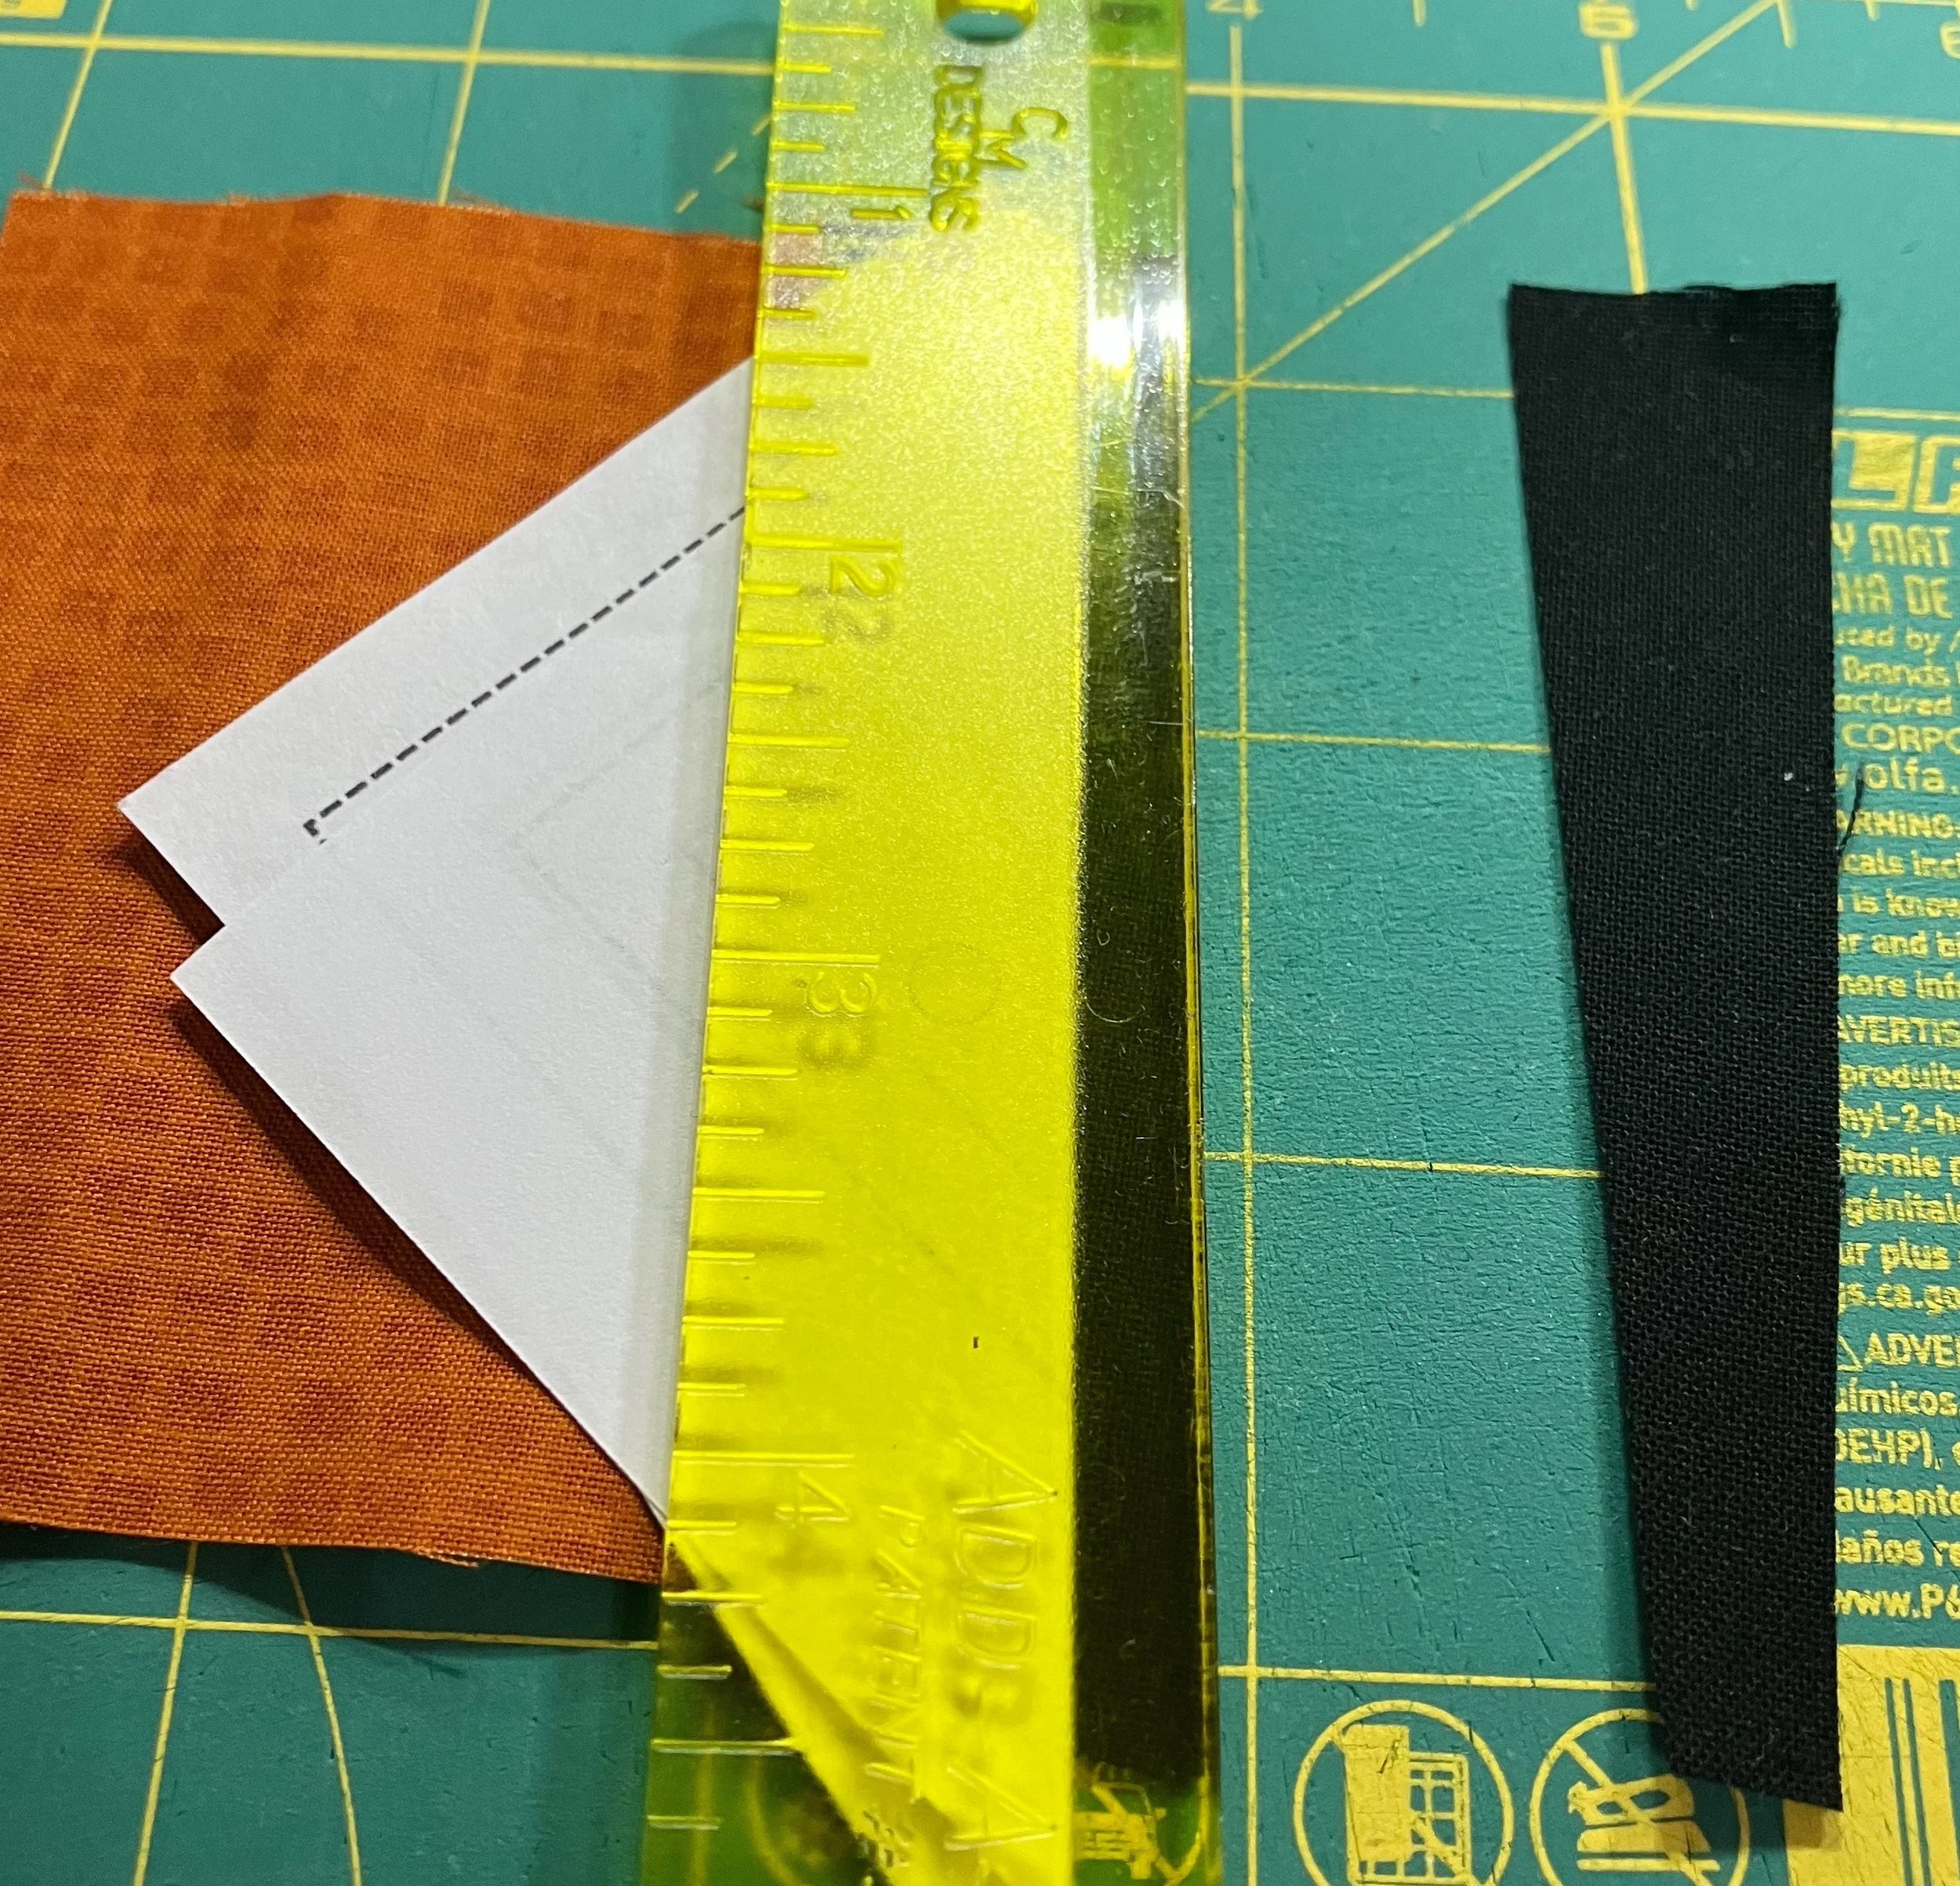
With the fabric side down, place your foundation on a cutting mat and fold back the paper on your sewing line. Using an Add-a-Quarter ruler, line it up against your fold and trim your fabric (this will leave your 1/4” seam extending past your sewing line).
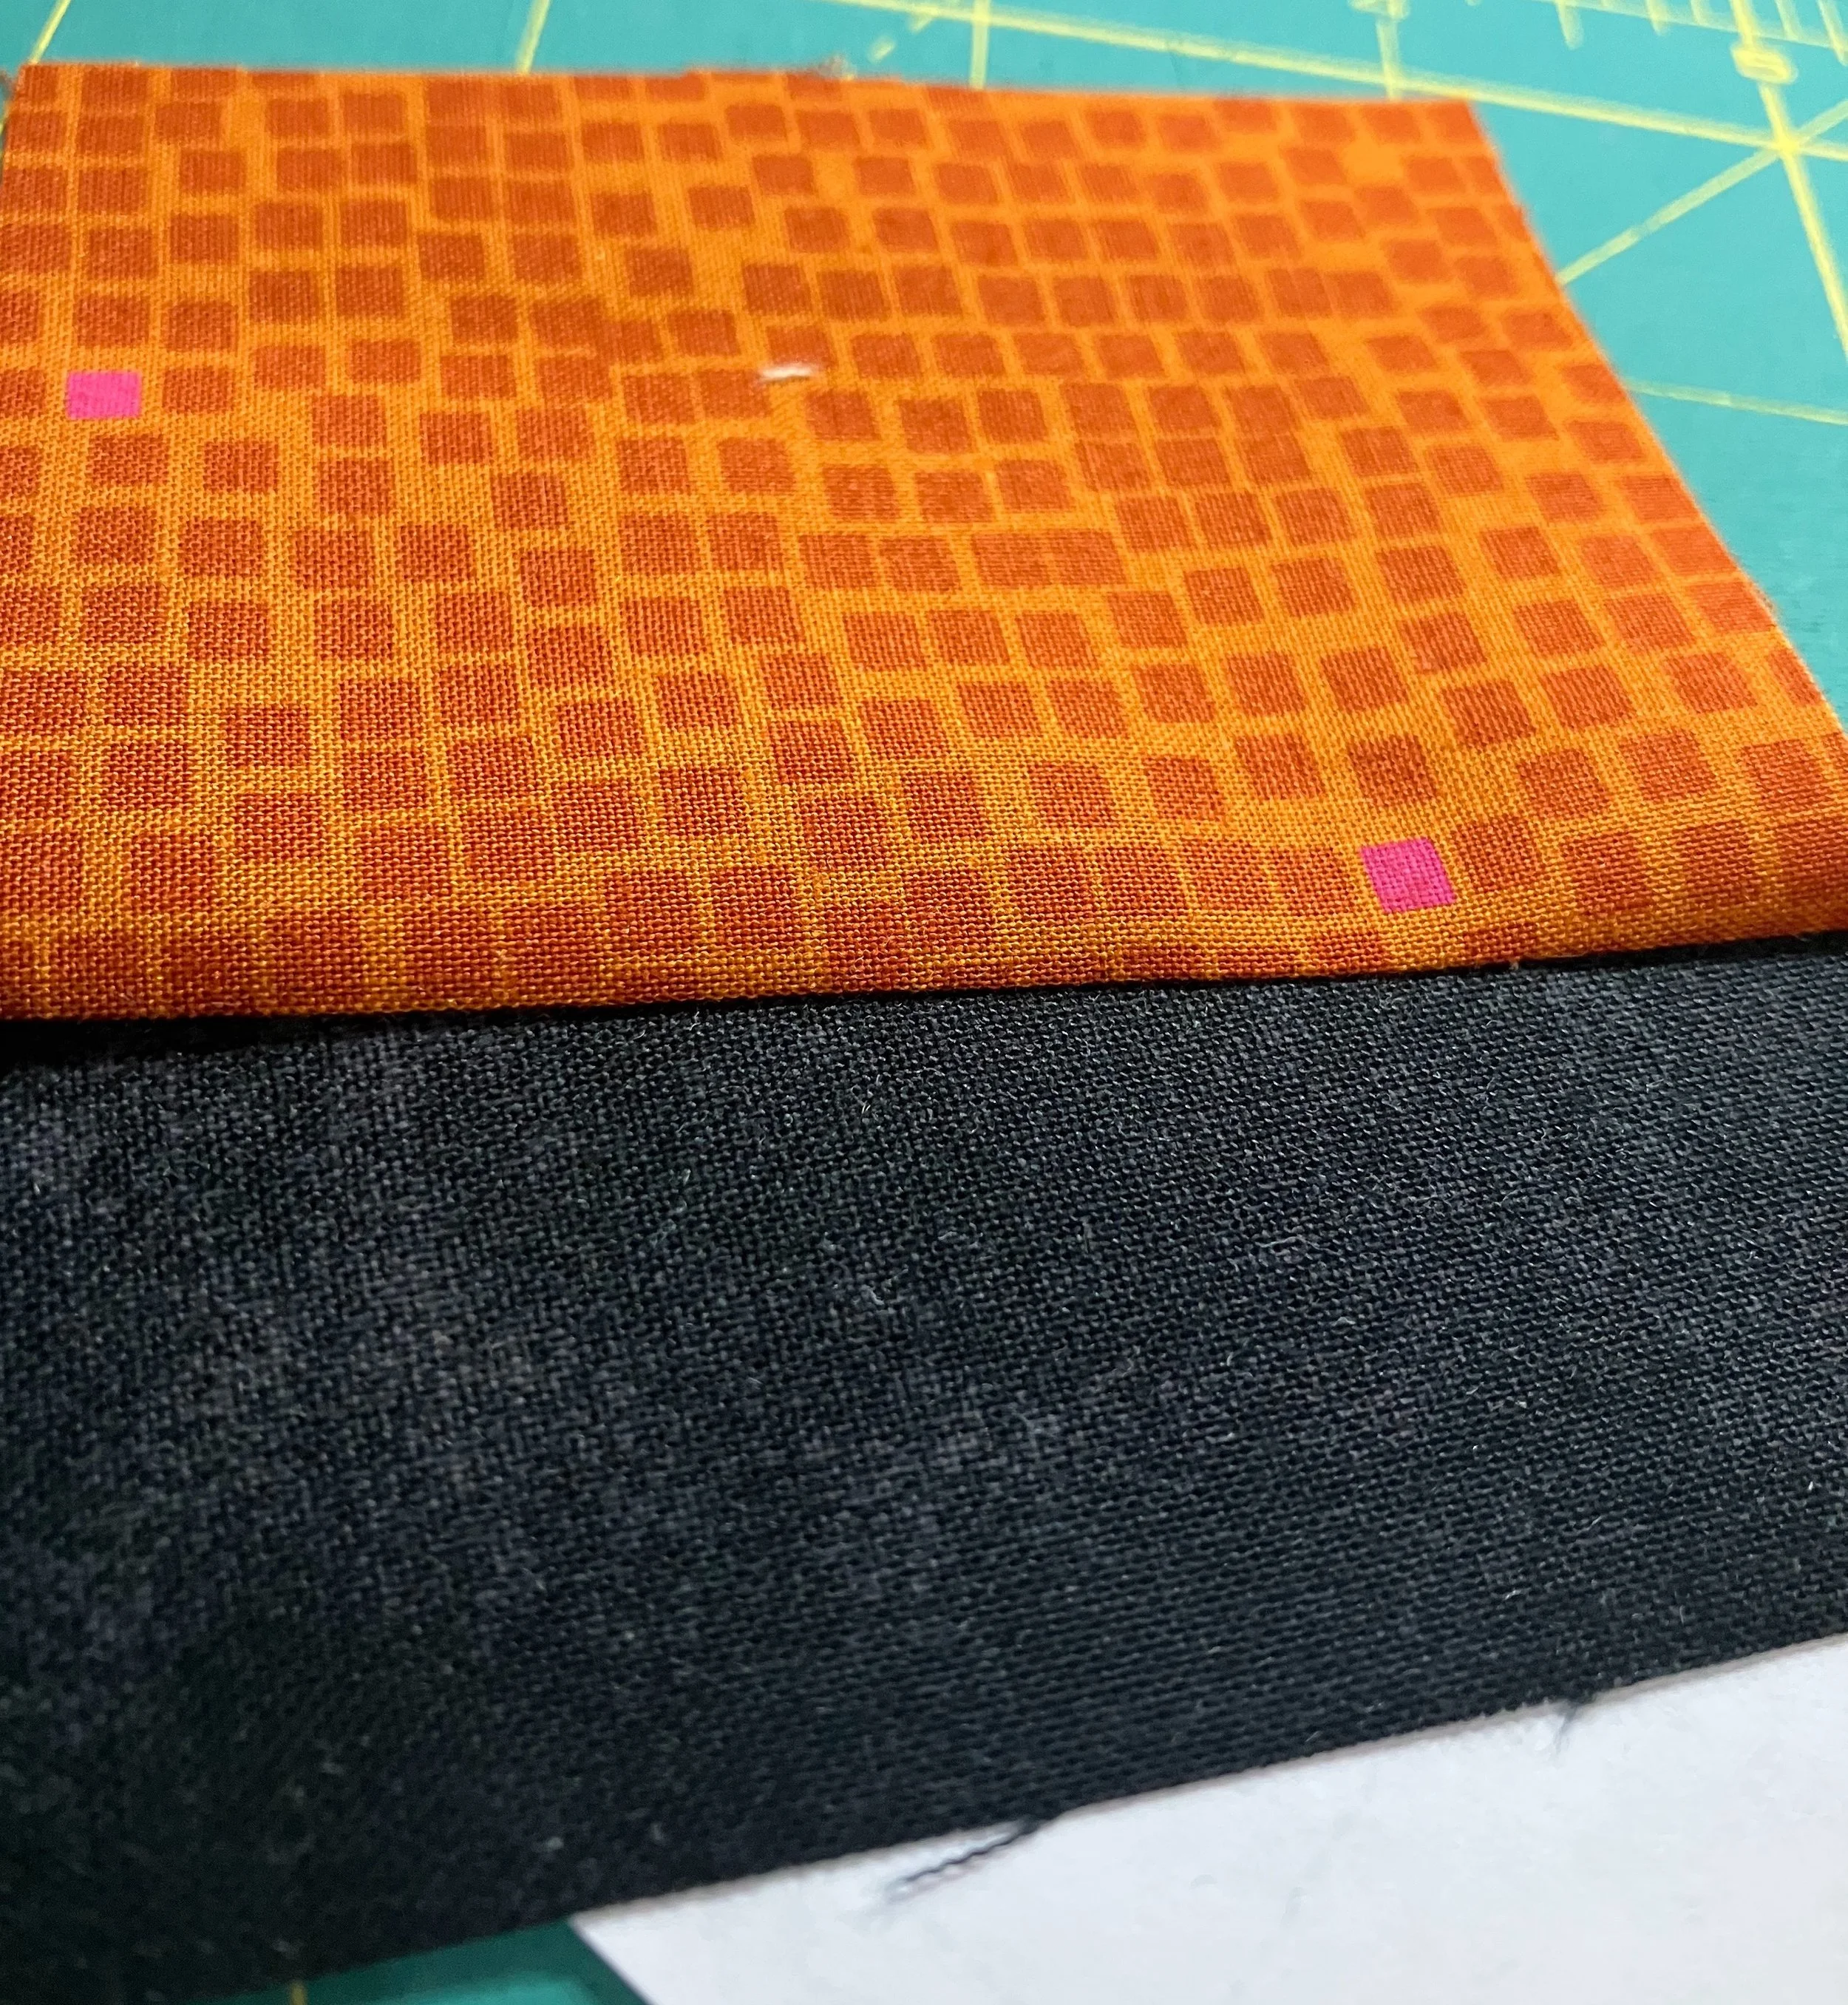
Unfold your paper, using the trimmed fabric as your guide, place your fabric for section two right sides together against the first fabric. Remove the pin holding the first fabric and press fabric two open.
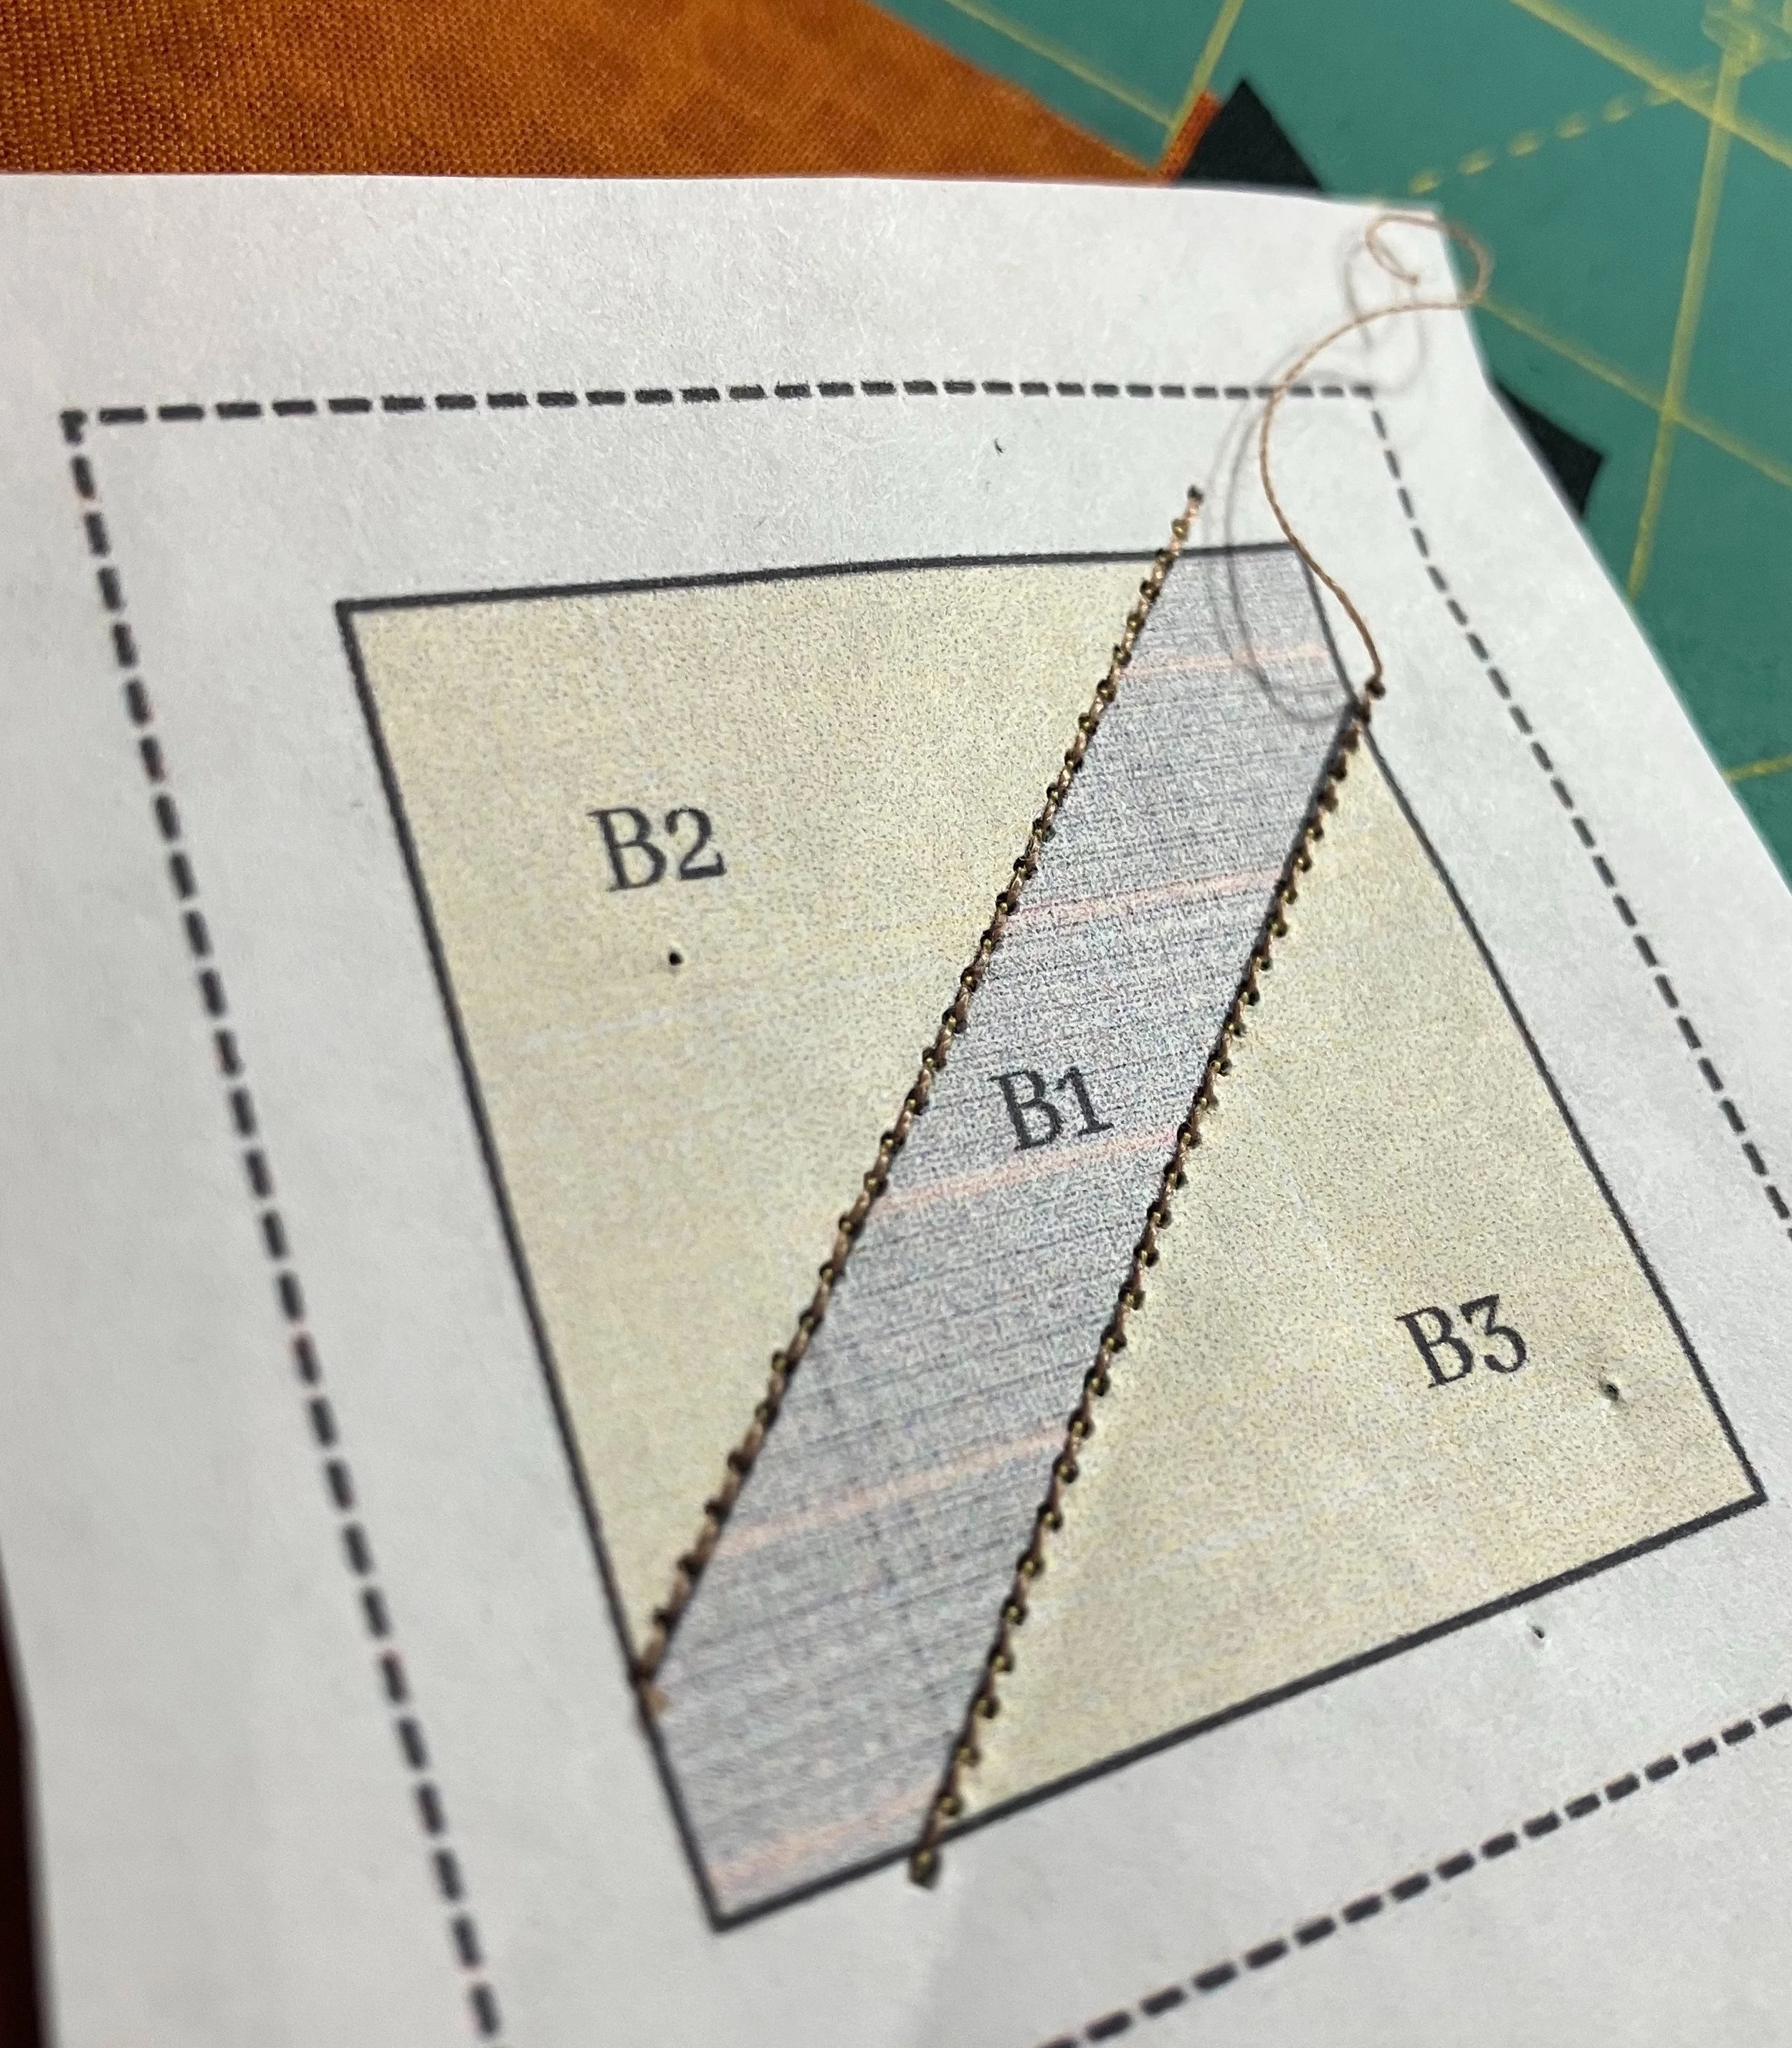
Sew along the solid line between sections one and two.
Remove the pin holding the first fabric and press fabric two open.
Repeat the process to add section three.
Fold the template back for section three and trim the excess fabric.
Align the fabric for section three with the cut edge, right sides together.
Sew along the solid line between sections one and three.
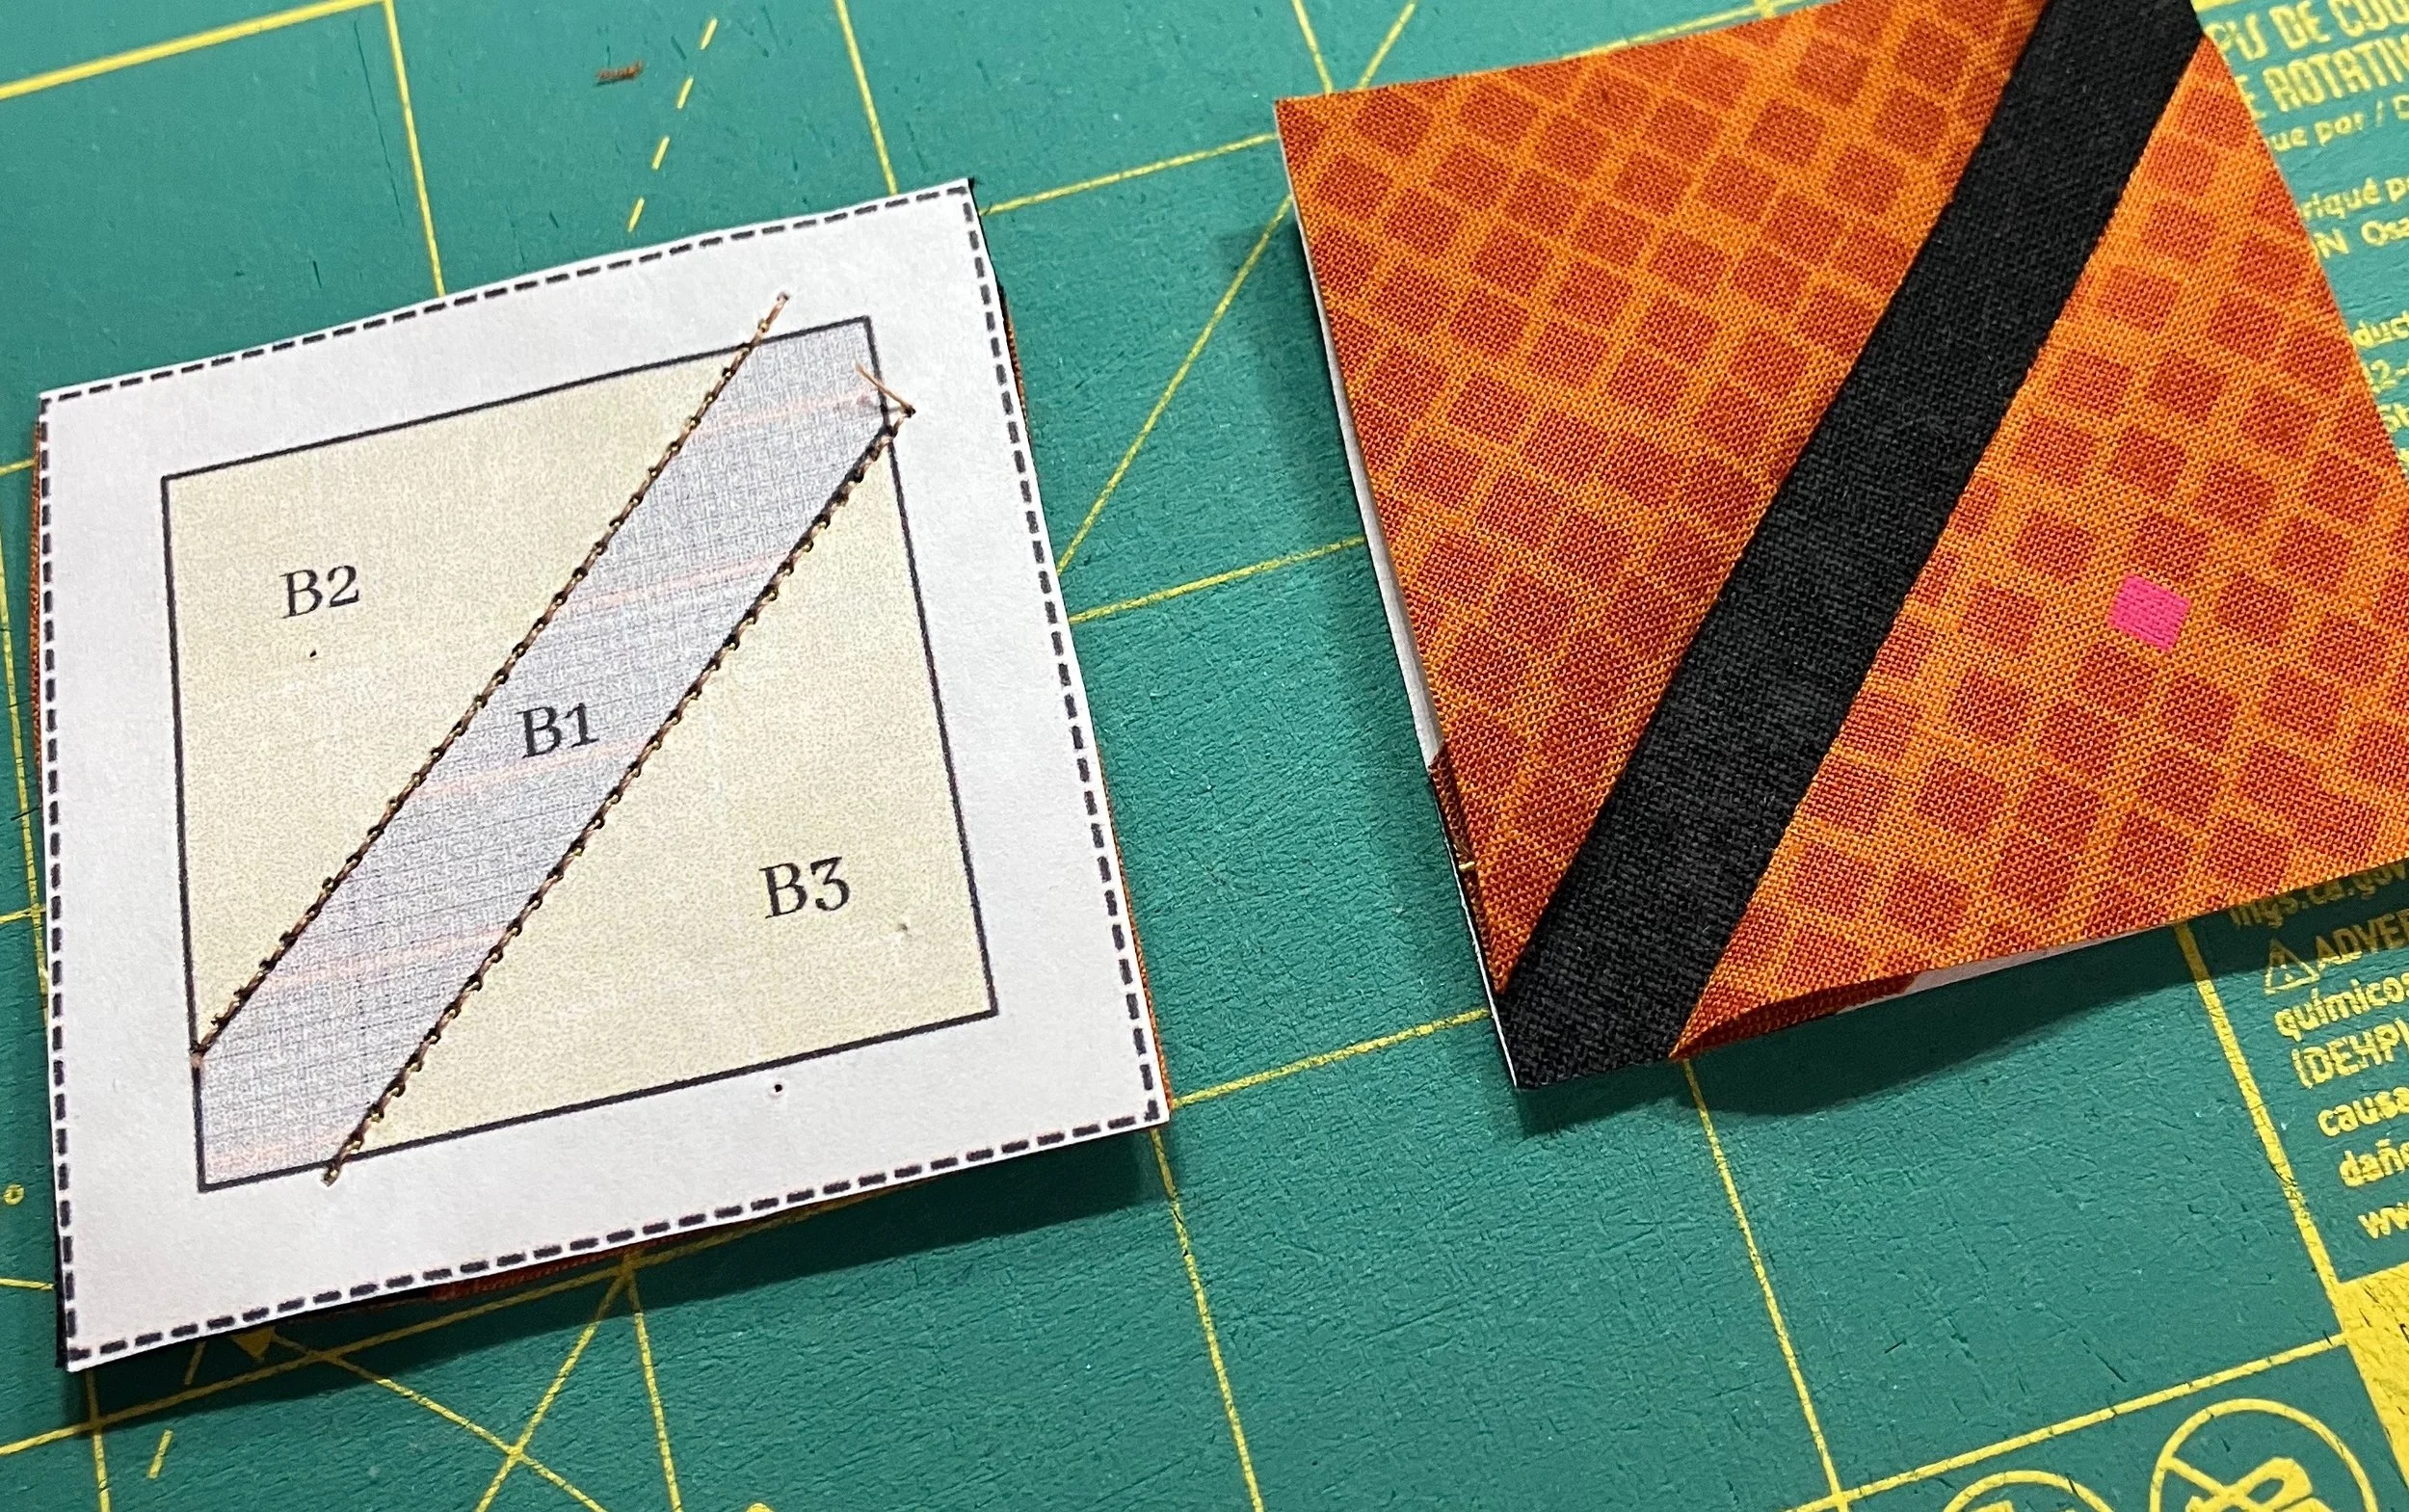
Now that the block is completed, place the pattern printed side up and trim the block down to the dashed border. Photo shows what the block will look like from the paper side and the fabric side. Leave the paper in the foundation until it is pieced into the quilt block. Then carefully tear the papers along the stitched lines.
While this shape is simple, the principle is the same for more complex FPP blocks. Follow the sections in order, trimming away excess fabric as you go until the entire block is complete.

